Another cute photo of it with the help of stickers from Picnik. I heart Picnik!!
I've never posted a printable, but I had a request to share my SPOOKY letters. I will provide you with each image and hopefully you can save and print from your computer. Let me know if it works please.
Hope it works and I would love to see everyone's project!!
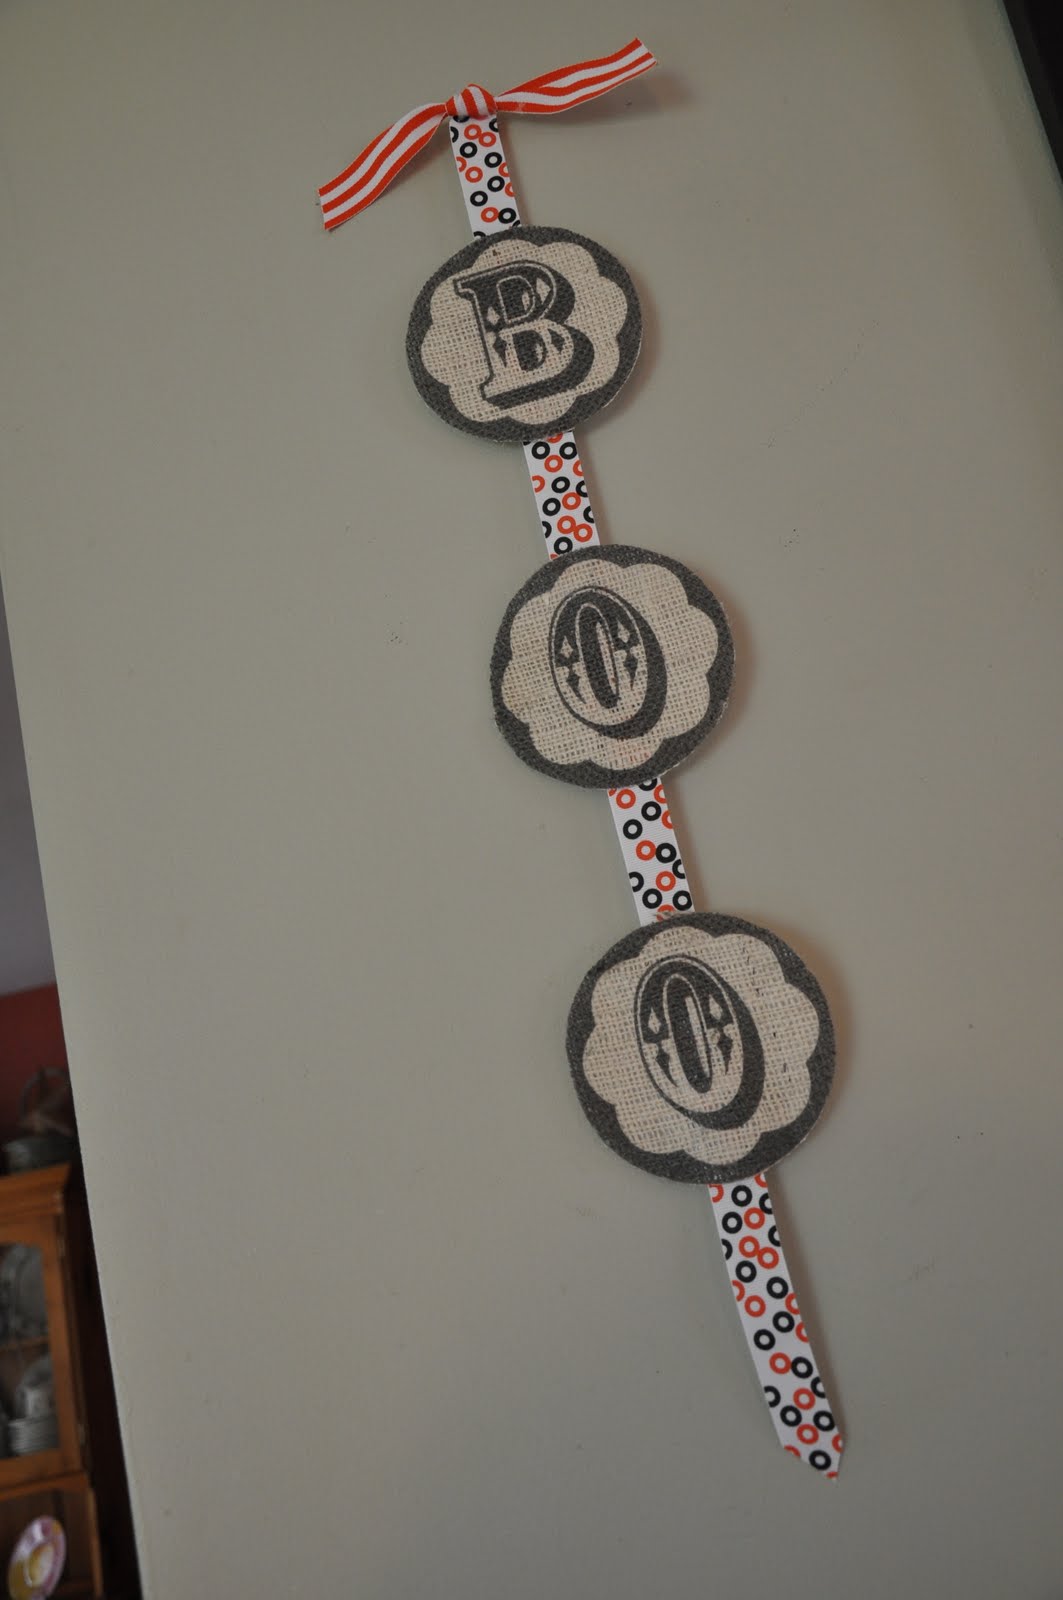
I got so excited about the whole printing on burlap idea that I made another banner. I found this pennant image and saved it to my computer. Then uploaded it to Picnik where I rotated it and added the letters.
I used a funky font and saved a pennant for each letter then printed them on burlap using the technique I told you about in my last post. I used pinking sheers to cut out the pennants and hot glued some thick black ric rac on the top. I did darken some of the letters with a paint pen and left the contact paper on because it kept the letters darker.
Hope everyone is having a nice Sunday and is safe from Irene.
BOO Banner I'm sorta in love with burlap right now. I search the blog world for fun and exciting things to do with it. I made this cute Halloween Banner by cutting triangles of burlap and tracing letters onto it. I used a black marker and then filled it in with paint. I sewed the pieces onto the jute and then added the ribbon in between to add some flavor. The ribbon on top of each triangle is fused on as well as the ric rac on the sides.
Printing on Burlap I was curious about printing on burlap but worried about it fraying and getting stuck in the printer so I came up with a great idea (well at least I think it is). I had some clear contact paper that I stuck to the burlap. I cut it to the desired size and fed it through the printer successfully. The adhesive on the contact paper kept the fabric from fraying.
I left the contact paper on when cutting and applying to ribbon.
I can't wait to create more things with burlap. I will keep you updated!!
A few weeks ago my friend's daughter, Elizabeth, came over and took some photographs of Eliza around our house. She is a great photographer and asked to take some pictures of Eliza for her website. Of course, I said "yes". You can find her work at http://elizabethtacywillisphotography.weebly.com .
So I have been collecting a lot of junk in the last few days...and I 'm not sure how I feel about it. I don't like having clutter around but it is so easy for me to see the potential of castoffs. I went to two auctions last week and found a few cute things that I will share in future posts. The auction world is new to me and I was nervous to bid at first. Then I started bidding on boxes of things that I didn't even inspect first. Angie and I went Thursday night and between the two of us bought about 7 boxes of "stuff". We sorted through it immediately and made a drive-by Salvation Army to donate things we know we didn't want. One of the things I am having a hard time deciding what to do with is a recipe box filled with this women's recipes. It saddens me that someone took that much time to compile these recipes and make meals for her loved ones. I don't want to throw it away and I really don't want to deal with it....I know I shouldn't feel guilty, but with my mother-in-law's recent passing I have a lot of emotion for things left behind. I don't know why this women's family didn't keep it.
Well one thing I am thrilled about getting this weekend at our annual neighborhood garage sale is this lovely shabby chic table. I payed $20 for it and left it as is except for some new knobs. Not sure how I feel about them so I would appreciate any input. I saved the old ones just in case. I love the chipping paint as is and rubbed some oil onto it to preserve what is left. I am a little, ok a lot, neurotic about lead paint so I may take it outside and spray a few coats of polly on it, but I really want to show it off.
I'll probably add some vintage suitcases to the bottom, but here it is. I have more pictures but my computer is not cooperating.
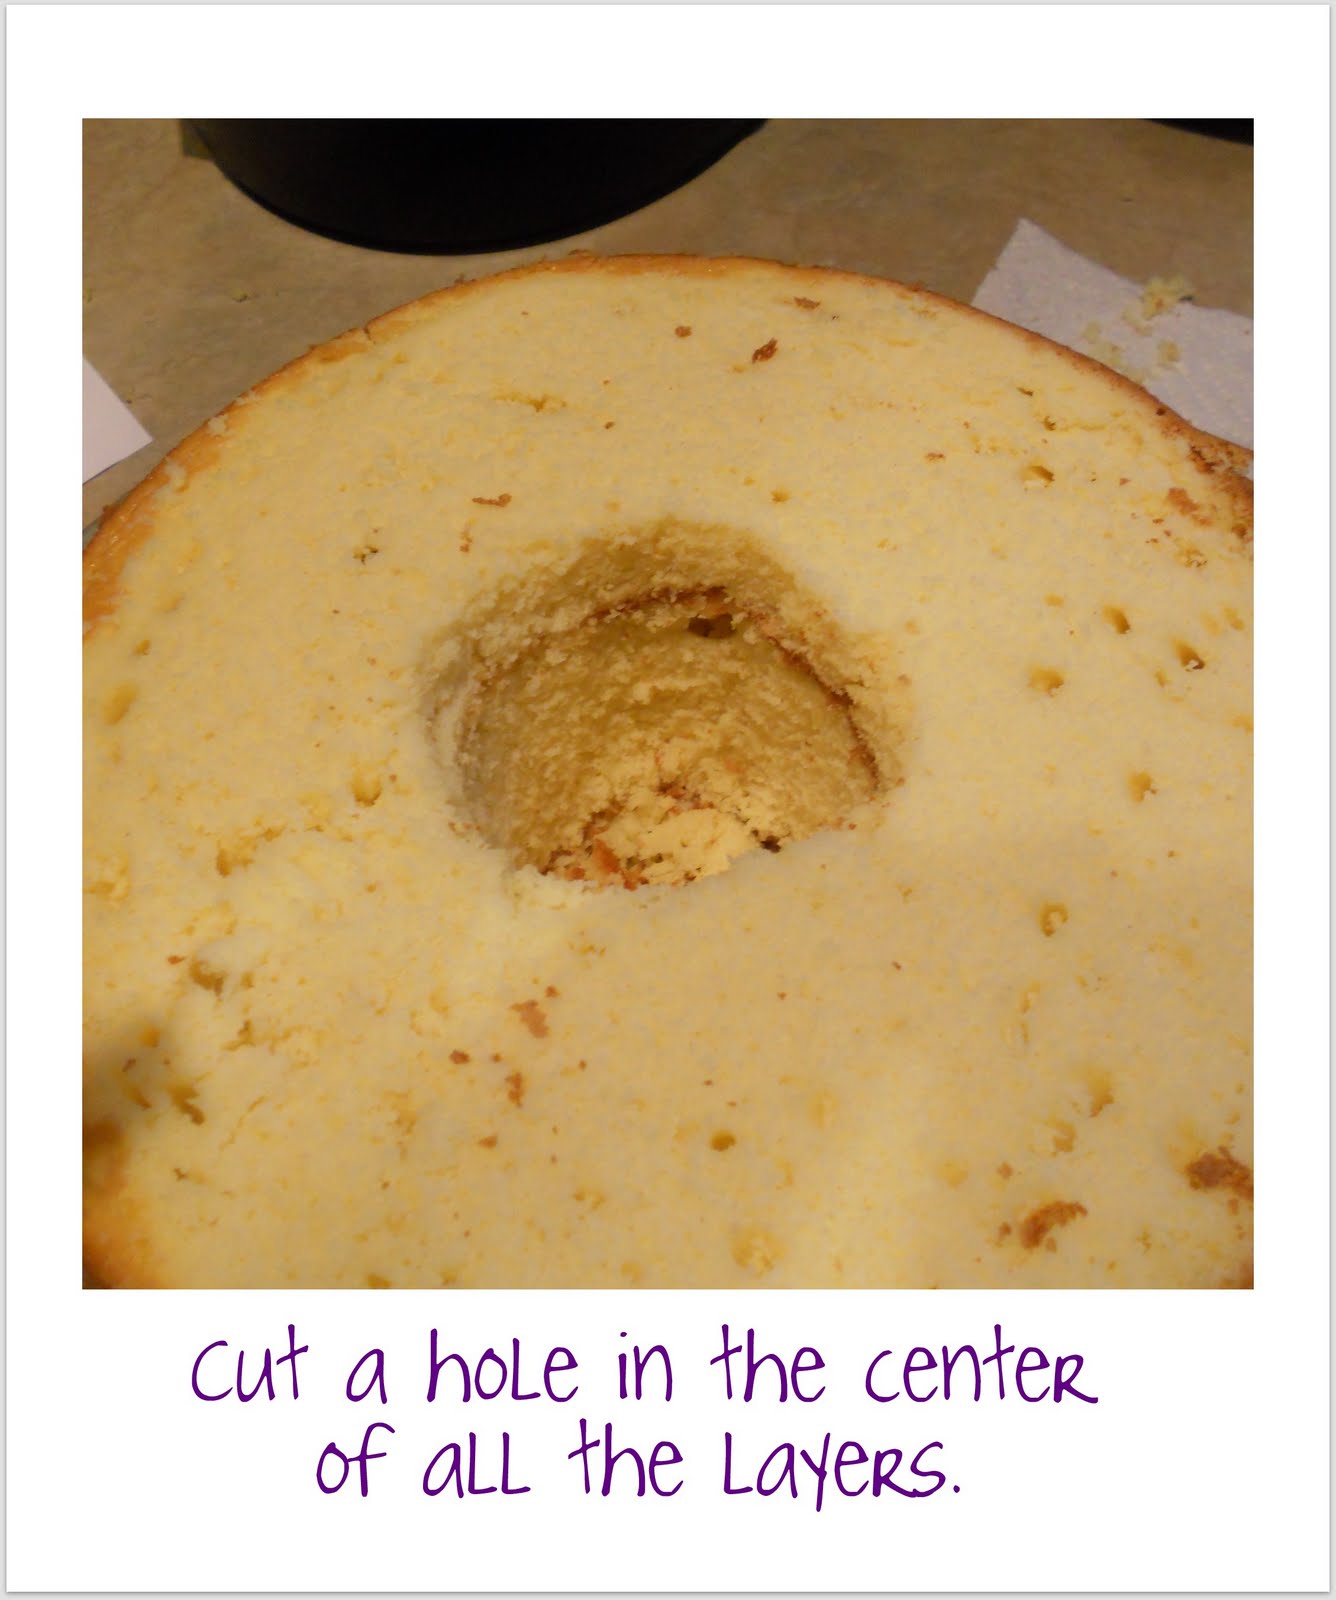
Ok, maybe not anything, but I got your attention. Eliza, my daughter who just turned three, likes to watch you tube videos of nursery songs and a princess cake tutorial caught her eye. So we watched it a few hundred times, why do they never get sick of watching the same thing OVER and OVER. You can find it here: http://www.youtube.com/watch?v=vwqaF8f3VW0 Anyway, I felt like I should give it a try for her party. We just had a small party with friends from home because we were camping on her actual birthday. So I gave the cake a try. Now, I am not a baker and they start the tutorial with the cakes already made. You need to make 3- 8 inch rounds and due to some issues getting them to come nicely out of the pans- I had to make 5. Now at this point I was tempted to give up and head over to Walmart, but luckily my princess was taking a nap and I had some time. You also need to bake a cake in a glass, oven safe bowl to get the shape for the top of the skirt. So here are some pictures:
I created this little felt and button bouquet and potted it in an antique salt shaker filled with vintage buttons. I found the felt flowers at Oriental Trading Company and added a stitch around the petals for more detail. I layered some buttons and put it on floral wire that I twisted to make the stem. I stained the tag with an ink pad and added the word "Bloom". Hope it makes you smile like it does me.